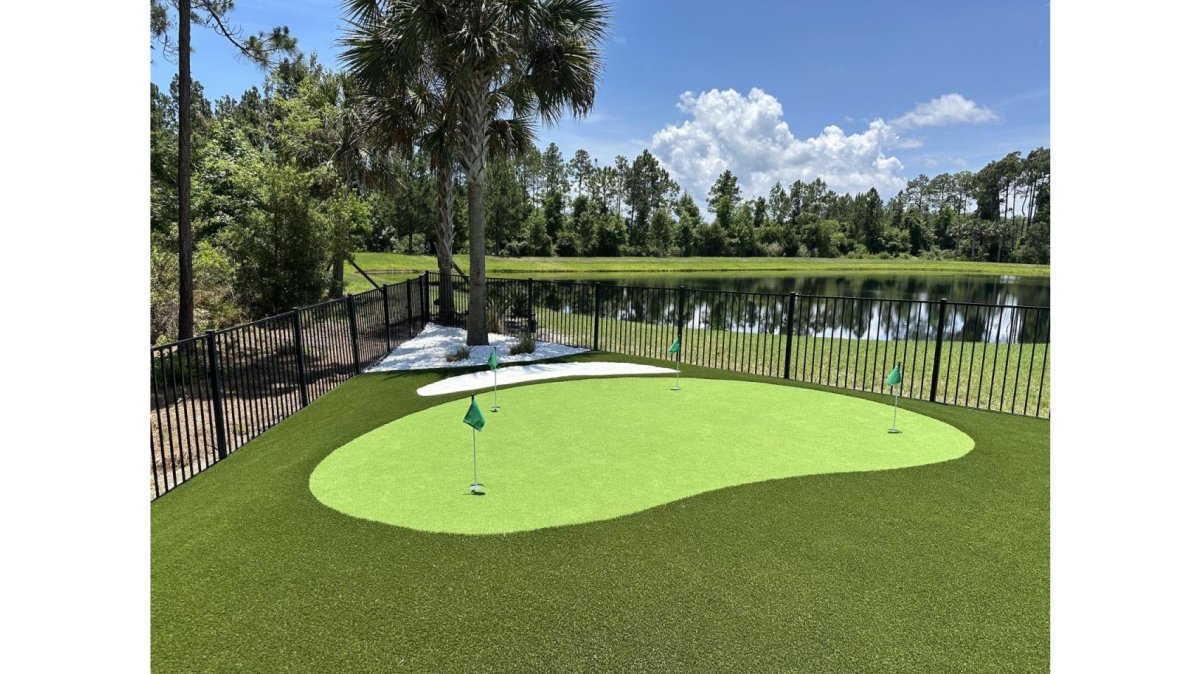
 comparison
DIY vs Professional Putting Green Installation
Last Updated: October 30, 2026
Quick Summary
DIY putting green installation saves on labor but demands excavation, base work, and turf fitting that most homeowners underestimate, making it best for small, flat, simple greens. Professional putting green installation costs more upfront but shifts the risk, tools, and warranty to the installer, and makes sense once your yard has slope, drainage issues, or a size worth protecting.
- DIY is a weekend project that becomes a month-long project, while professional installation is a month-long wait that becomes a weekend project.
- DIYers often skip compaction passes and weed barrier overlaps, causing greens to settle, ripple, or grow weeds within a season.
- DIY saves the most on small, flat greens where labor is the only real difference between the two routes.
- Add disposal, equipment rental, and warranty costs to a DIY materials quote before comparing it to a professional all-in quote.
- If your yard drops more than a few inches across the planned area, get a professional assessment before buying any turf.
Table of Contents
- DIY vs Professional Putting Green Installation: The Core Trade-Off
- Side-by-Side Comparison: Cost, Time, Quality, and Risk
- What Putting Green Installation Cost Looks Like for Each Route
- Realistic Putting Green Installation Time and Labor Estimates
- Putting Green Base Preparation: The Step That Decides Quality
- Building a Putting Green for a Sloped Backyard
- Long-Term Ownership, Repairs, and Who Stands Behind the Work
- Choosing Your Installation Route: DIY, Pro, or Hybrid
- Frequently Asked Questions
DIY vs Professional Putting Green Installation: The Core Trade-Off
DIY vs professional putting green installation comes down to one question: do you want to trade money for time, or time for money?
Many failed DIY attempts follow the same pattern, and knowing where they usually go wrong helps homeowners plan.
Here's the trade-off in one line: DIY is a weekend project that becomes a month-long project.
U.S. Consumer Product Safety Commission guidance on artificial turf safety
Side-by-Side Comparison: Cost, Time, Quality, and Risk
Professional installation generally offers more on quality and risk, while DIY generally costs less upfront. That's the honest summary. The table below shows where each route actually differs.
| Factor | DIY Installation | Professional Installation |
|---|---|---|
| Upfront cost | Lower, materials only | Higher, includes labor |
| Time commitment | Weeks of evenings and weekends | Scheduled crew, fixed timeline |
| Base preparation | Rented equipment, hand compaction | Plate compactors, laser levels |
| Turf seaming | Easy to get wrong | Trained fitting and adhesive work |
| Drainage and grading | Often overlooked | Engineered into the base |
| Warranty | None on your own labor | Backed by the installer |
| Repair responsibility | Yours | Shared or covered |
A common mistake is comparing only the material quote. The real gap shows up in the base layer. DIYers tend to skip compaction passes and weed barrier overlaps, and that's where greens settle, ripple, or grow weeds within a season.
What Putting Green Installation Cost Looks Like for Each Route
Putting green installation cost depends on square footage, base conditions, turf grade, and how much contouring you want. Putting green installation pricing depends on quantity, site conditions, and delivery, so the most useful approach is to understand how the two routes break down by project size and where hidden costs tend to appear.
The cost buckets, in order of how often they surprise people
- Excavation and haul-away. Removing soil and old lawn is the line item DIYers forget. Disposal fees and dumpster rental are real, and excavated soil is heavy. On a 400-square-foot green you may be moving several cubic yards of material twice, out, then base in.
- Aggregate base. Crushed stone is sold by the ton, delivered. The deeper the base spec, the more tons you need, and delivery minimums can force you to buy more than the job requires.
- Compaction and grading equipment. A plate compactor, laser level, and hand tools are rentable by the day, but multi-day rentals add up fast and the rental clock runs whether you're ready or not.
- Turf and accessories. Turf is priced per square foot and varies widely by pile height, backing, and face weight. Add cups, flags, fringe, seam tape, adhesive, infill, and landscape spikes.
- Labor and accountability. This is the entire professional premium, and it buys consecutive workdays, proper equipment, disposal, and a warranty.
How the two routes compare across project sizes
Rather than focus on a single number, compare the structure of the spend. On small, flat greens the DIY material total is usually a fraction of a professional quote, because labor is the dominant line item and you're supplying it.
| Cost bucket | DIY | Professional |
|---|---|---|
| Turf and accessories | You buy at retail | Installer buys at trade pricing |
| Aggregate base and delivery | You coordinate and pay delivery minimums | Included in scope |
| Equipment | Daily rentals, your time operating | Owned equipment, crew-operated |
| Excavation and disposal | Your labor plus dumpster fees | Included in scope |
| Labor | Your weekends | The bulk of the quote |
| Warranty and callbacks | None | Backed by the installer |
The honest takeaway: DIY saves the most on small, simple, flat greens where labor is the only real difference. The savings shrink, and can invert once you count rework, on larger or sloped projects where base, drainage, and disposal costs dominate.
Federal Trade Commission guidance on home improvement contracts
A useful step is to get the full scope in writing on both routes before you decide, and make sure the DIY scope lists disposal, equipment rental, and a contingency for rework. For a closer look at how pricing and design decisions fit together, see our backyard putting green cost and installation guide.
Realistic Putting Green Installation Time and Labor Estimates
Putting green installation time runs longer than most homeowners expect on both routes. The useful way to plan is by phase and by person-hours, not by vague "weekends." Here is how the work actually breaks down, and where DIY schedules fall apart.
The phases, and roughly how the effort splits
- Site layout and marking. Small effort, high consequence. Getting the shape and orientation wrong is expensive to undo.
- Excavation. The heaviest phase. Removing sod and soil by hand is slow; machine rental speeds it up but adds a learning curve and delivery logistics.
- Base placement and compaction. This is where the calendar stretches. Base goes in lifts, each watered and compacted, and rushing it is the number-one cause of a green that ripples later.
- Turf fitting and seaming. Cutting, stretching, seaming, and trimming. Seams are unforgiving, a bad seam is visible forever.
DIY vs professional, by project size
| Project size | DIY realistic timeline | Professional realistic timeline |
|---|---|---|
| Small, flat green | Multiple weekends, spread over weeks | A few consecutive workdays |
| Mid-size green with fringe | Several weeks of evenings and weekends | About a week of consecutive workdays |
| Large or contoured green | A month-plus, with high rework risk | One to two weeks of consecutive workdays |
The pattern is consistent: DIY time scales with your available hours and your skill, while professional time scales with crew size and consecutive workdays. The professional route compresses the calendar because the crew works back-to-back days with the right equipment, not because the work is less.
Where DIY timelines fail
- Ordering turf before the base is finished. Turf arrives, sits rolled in the sun, and gets installed on a base that hasn't cured. Sequence turf delivery after base sign-off.
- Underestimating compaction time. Each lift takes passes, and passes take time. Skipping them saves a day and costs a season.
- Weather windows. Rain on an open excavation sets you back days, and DIY schedules rarely have slack.
- Rental clock pressure. Daily equipment rentals push you to rush steps you shouldn't rush.
If you're curious what a managed install actually looks like day by day, our step-by-step artificial turf installation walkthrough covers prep, timeline, and what to expect.
Putting Green Base Preparation: The Step That Decides Quality
Putting green base preparation is the single step that determines whether your green rolls true in year three or develops dead spots and ripples.
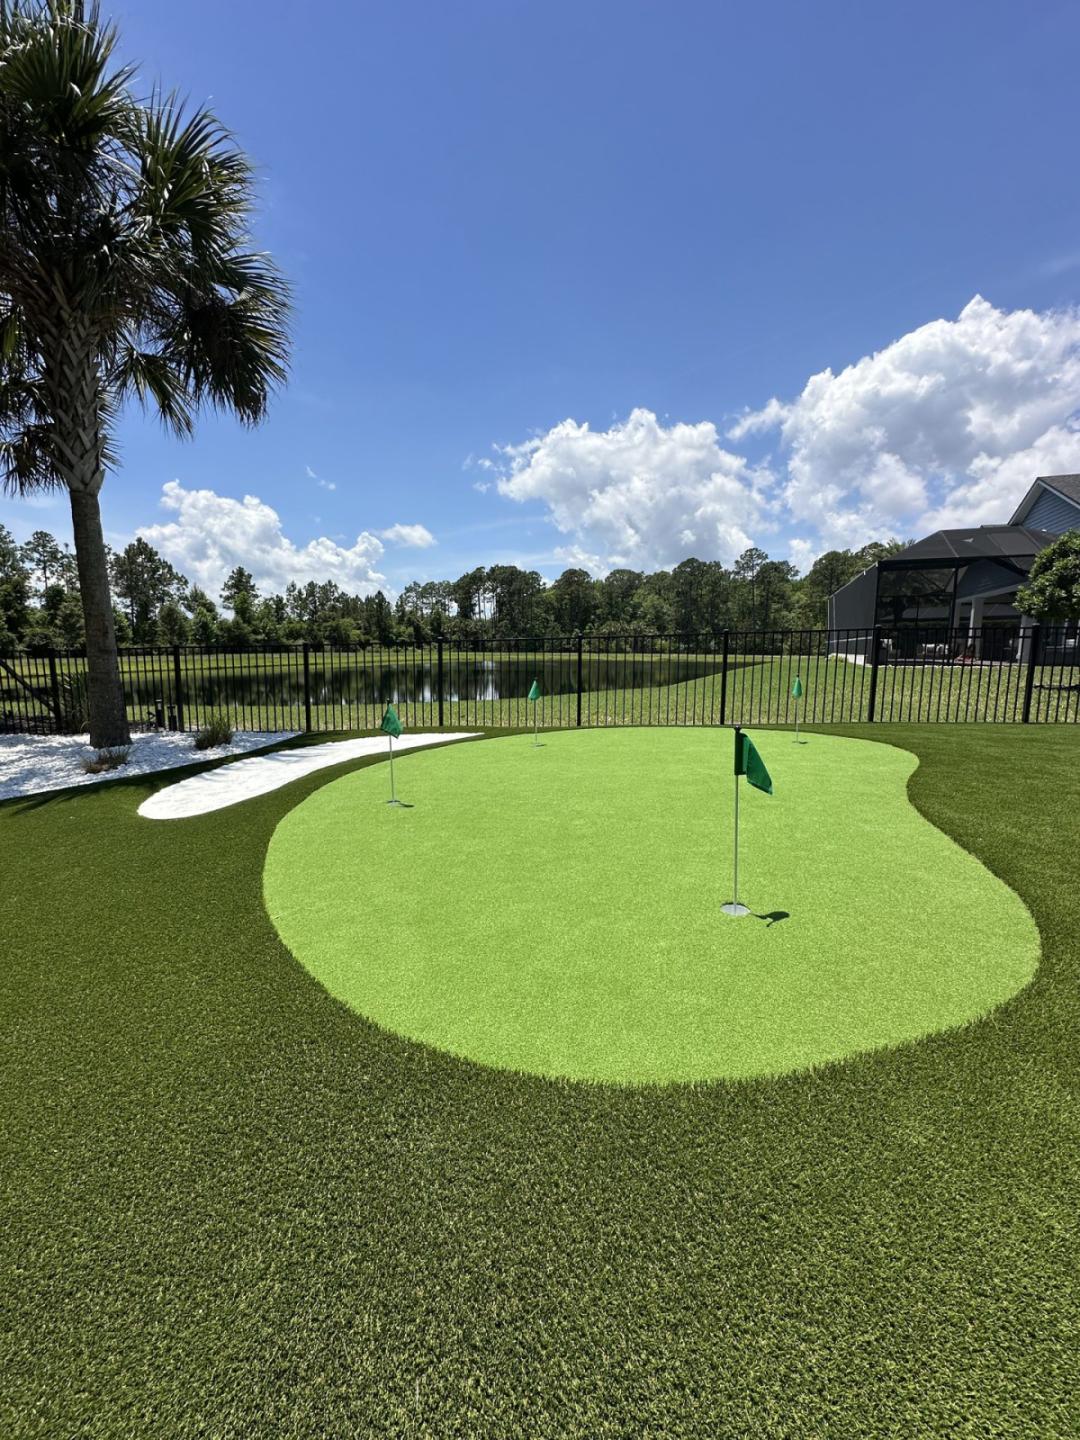
Drainage belongs here too. For the base prep, permeability ratings, and install specs that keep a yard dry after a storm, see artificial turf drains in Jacksonville's clay soil.
Building a Putting Green for a Sloped Backyard
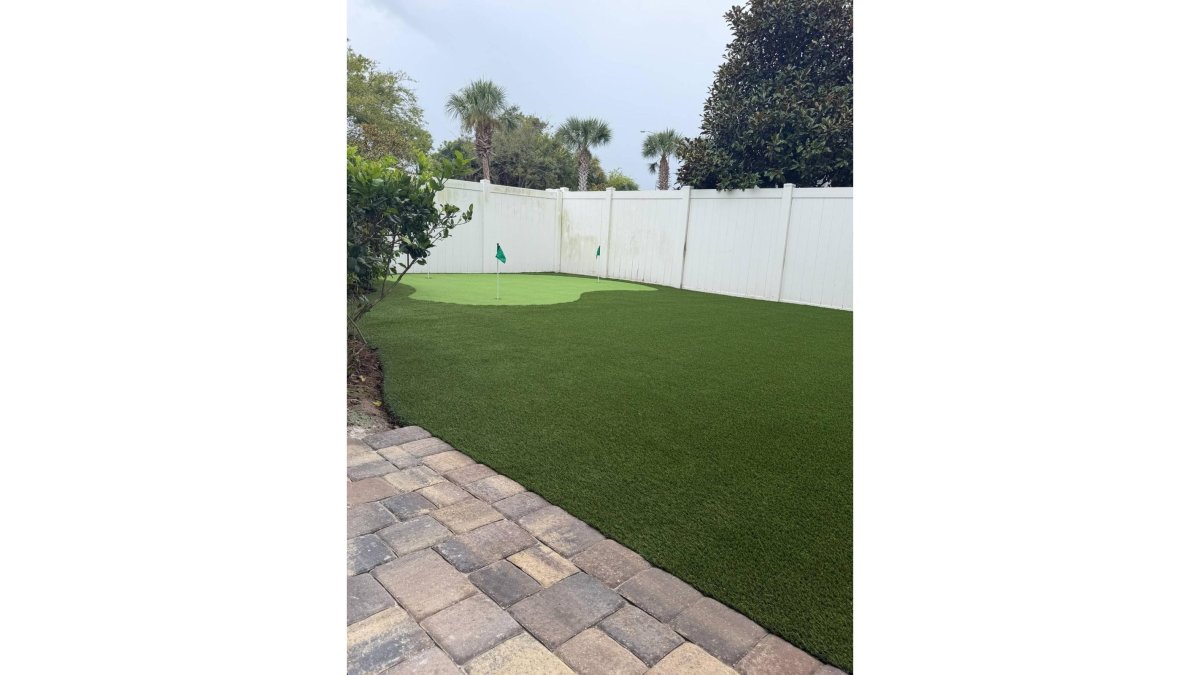
A putting green for a sloped backyard is where DIY confidence usually collapses.
Professionals handle slope with grading and, when needed, low retaining walls or stepped base construction. DIYers often try to build up low spots with loose fill, which settles and shifts.
If your yard drops more than a few inches across the planned area, get a professional assessment before you buy a single roll of turf.
Long-Term Ownership, Repairs, and Who Stands Behind the Work
Long-term ownership is the factor most comparisons skip. Both routes give you a low-maintenance surface, but they don't give you the same repair path.
Professional installation can come with a warranty, and it is worth asking any installer exactly what is covered and for how long, in writing.
Durability also depends on materials. PFAS-free materials are a feature of our turf, and homeowners increasingly ask what is in the product their kids and pets play on.
Choosing Your Installation Route: DIY, Pro, or Hybrid
Choosing your installation route comes down to three questions: how flat is your yard, how large is the green, and how much of your weekend are you willing to give up? If the yard is flat, the green is small, and you enjoy the work, DIY is a legitimate path.
If any of those answers makes you hesitate, professional installation is generally the safer call. A middle route is also possible, where the homeowner handles site clearing and a professional handles base, drainage, and turf.
For homeowners who want the job done once and done right, going professional on base preparation at minimum is a reasonable approach. If you're ready to talk scope, request a free turf estimate and we'll walk your yard with you.
If you want the full case for what a finished green gives you, read our breakdown of the benefits of a backyard putting green.
Frequently Asked Questions
Is it cheaper to install a putting green yourself?
Usually yes on materials alone. Pricing depends on quantity, site conditions, and delivery, so request a current quote for your specific project. The gap narrows once you count tool rentals, wasted turf from cutting errors, and your own labor of roughly 20 to 40 hours. Get a written quote before assuming DIY wins.
How long does putting green installation time take?
A DIY build typically takes several weekends of labor, and rework adds time. Excavation, grading, and compaction are the slowest phases, especially in clay-heavy soil. Ask any installer for a start-to-finish schedule in writing, including curing or settling time before the turf goes down.
Can you install a putting green on a sloped backyard?
Yes, but the slope has to be reshaped rather than covered. A green needs a level putting surface with a slight fall for drainage, so a sloped yard usually means retaining walls, fill dirt, or terracing before base preparation starts. That earthwork is where DIY budgets blow up, because it requires equipment and grading judgment. A putting green for a sloped backyard is one of the clearest cases for hiring an installer who has handled grade changes before.
How do you prepare the ground for a synthetic putting green?
Putting green base preparation follows a set sequence: mark the layout, excavate to depth, grade for drainage away from the green, compact the subgrade, then lay a weed barrier and build up a crushed stone or decomposed granite base in lifts, compacting each one. The base is laser-leveled and rolled before turf goes down. Skipping compaction or drainage is the most common reason a DIY green ends up with lumps, puddles, or seams that lift within a season.
What are the benefits of hiring a professional putting green installer?
You get a level, properly drained base, clean seams, and shaped contours that actually roll true, plus someone accountable if something fails. Installation work can also cover the parts DIY guides often skip, such as excavation and grading. Ask about warranty terms, repair responsibility, and whether materials are PFAS-free. Requesting a free turf estimate gives you a concrete figure to compare against your DIY budget.
The hardest part of this decision isn't the money. It's being honest about how much of the base work you can actually do well. Bold Turf Co. builds custom putting greens with PFAS-free materials, owner involvement from first walkthrough to final cup, and 0% financing options for homeowners who'd rather spread the cost. Get started with Bold Turf Co. and get a green that plays true the first time.